Mantije Recipe – Sandžak Baked Beef Pastries
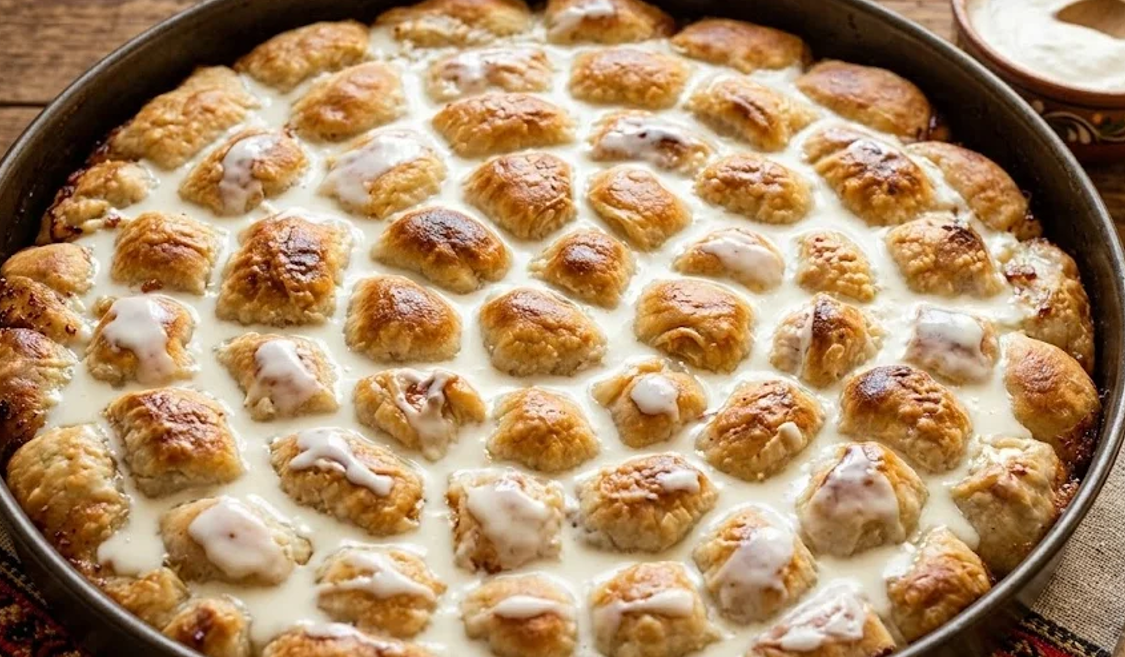
Mantije are tiny oven-baked pastries with a raw beef-and-onion filling enclosed in thin, buttered layers of dough. Particularly associated with Novi Pazar and Sandžak, they bake close together until golden, then meet cool garlic yogurt at the table. This recipe makes six substantial main portions.
The layers come from stacking small dough rounds with melted butter and sunflower oil before rolling them thin. Each square becomes its own closed parcel. These are baked mantije, rather than boiled Turkish mantı or a long, rolled burek cut into servings.
The small size makes this a hands-on project. Plan close to three hours, with more time if you are new to shaping or need separate oven batches. The recipe explains how to divide the available filling among the actual squares you cut, so a generous teaspoon does not leave you short halfway through.
Mantije – Sandžak Baked Beef Pastries
Ingredients
- 4 1/6 cups unbleached all-purpose flour weigh for best results; spoon and level cups; original flour is German Type 405; minimal extra dusting flour is not included in nutrition
- 1 1/3 tsp fine table salt for the dough; not coarse or kosher salt by the same volume
- 9 1/2 fl oz lukewarm water for the dough; about 86–95°F (30–35°C)
- 1 tbsp sunflower oil for the dough; separate from layering oil
- 5 2/3 tbsp unsalted butter melted and cooled to just warm; US spoon measure is approximate
- 2 tbsp sunflower oil mix with melted butter; this pool also supplies the light ball and pan coating
- 17 5/8 oz ground beef fresh; 80/20 ground chuck is the defined US choice; US weight is rounded
- 7 oz onion prepared weight; very finely diced, about 2–3 mm
- 2 tbsp cold water for the filling, not the dough
- 1 1/3 tsp fine table salt for the filling; separate from dough and sauce salt
- 1 tsp ground black pepper conversion basis: about 2.3 g per teaspoon
- 1 5/8 cups plain whole-milk yogurt unflavored regular whole-milk yogurt, about 3.5% milkfat; US cup measure is approximate; use Metric for the exact weight
- 2 cloves garlic medium, peeled and crushed; approximately 3 g per clove; the original allows a milder amount
- 1/2 tsp fine table salt for the yogurt sauce
Equipment
- Kitchen scale for dough portions and very small filling portions
- Mixing bowls keep raw filling separate from the ready-to-eat yogurt sauce
- Rolling Pin allow a work surface large enough for the thin rectangles
- Pastry wheel or knife cut even squares; keep fingers clear
- Pastry brush use the measured butter-oil mixture
- Metal baking pans two 12 × 14-inch (30 × 35-cm) pans at 1x; more pans or batches when scaling
- Thin-probe food thermometer check beef filling in representative center pastries
- Clean Kitchen Towel for the optional post-bake softening rest, outside the oven
Method
- Mix the yogurt sauce. Before handling raw beef, stir the yogurt, crushed garlic, and sauce salt together. Cover and refrigerate until serving.
- Prepare the filling. Mix the beef, very finely diced onion, measured cold filling water, filling salt, and pepper just until evenly distributed. Do not pre-cook the beef. Cover and refrigerate; take out only the portion needed while shaping. Wash hands, tools, and work surfaces after raw-meat handling.
- Knead the dough. Mix the flour and dough salt, then add the lukewarm dough water and dough oil. Knead for about 8–10 minutes until smooth, elastic, and manageable, with no dry flour pockets. Keep the measured 56% hydration as the starting point; this is not a wet flatbread dough.
- Prepare the brushing mixture. Combine the melted, just-warm butter with the separate layering oil. Reserve a little of this mixture for lightly coating the dough balls and pans; keep a substantial portion for brushing the formed pastries. Do not add an unmeasured extra pool of fat.
- Divide and rest. Divide into equal dough balls using the scale-specific batch guide in Notes. Lightly coat, cover completely, and rest for about 30 minutes. The dough relaxes rather than rising; it contains no yeast.
- Build the stacks. Roll each ball into a round about 7–8 inches (18–20 cm) wide on a minimally floured surface. Make stacks of three rounds each, brushing the lower two rounds with a thin film of the butter-oil mixture. Keep enough mixture for the pans and final brushing. Cover the stacks and rest another 10 minutes. Preheat a conventional oven to 410°F (210°C) during this stage.
- Roll and cut. Keep the other stacks covered while rolling one stack to a thin rectangle about 16 × 20 inches (40 × 50 cm). Cut about 2-inch (5 cm) squares. Keep cut dough covered so the borders stay flexible. Repeat with the remaining stacks; retain usable edge pieces rather than assuming a perfectly measured yield.
- Portion the filling. Count the usable squares and divide the chilled filling proportionally among them. For the stated small squares, about 4.6–5.2 g filling per piece is a practical calculated starting range, not a heaped teaspoon. Test-close a few pieces first, leaving clean borders; use the actual count and the Notes calculation to avoid a large leftover mound of filling.
- Close and arrange. Bring two opposite corners together above the filling, then bring the other corners to the center. Pinch the side openings tightly closed. Set seam-side down in lightly coated metal pans, compactly but without crushing or stretching neighboring parcels. Use additional pans if needed. Keep formed raw pastries and unused filling refrigerated while other batches are shaped.
- Brush and bake. Brush the tops and gaps with the remaining butter-oil mixture. Bake in the fully preheated oven for about 30–35 minutes, until golden and the dough is cooked through. With two pans, use separated upper- and lower-middle racks, swap rack positions and rotate front to back after about 20 minutes. Check representative pastries from the middle of each pan with a thin thermometer probe: the beef filling must reach at least 160°F (71°C). Continue baking if necessary; browning alone is not a safety check.
- Rest briefly. Rest for about 10 minutes after baking. Loosely cover with a clean towel for softer tops, or leave uncovered for a crisper surface. Do not cover with a towel inside the oven.
- Serve with cold yogurt. Divide the cooked pastries and sauce into the servings shown. Serve the hot mantije with the refrigerated garlic yogurt alongside or spooned over just before eating. Do not soak the whole tray in sauce far in advance.
Nutrition
Notes
Pazarske mantije and their baked pastry layers
“Pazarske mantije” points to the Novi Pazar association, within the wider Sandžak tradition. Similar preparations also occur in parts of Bosnia. That regional association does not mean every household uses the same shaping, filling, or serving method. Here, the defining technique is a butter-oil stack rolled thin, cut into small squares, filled, closed, and baked.
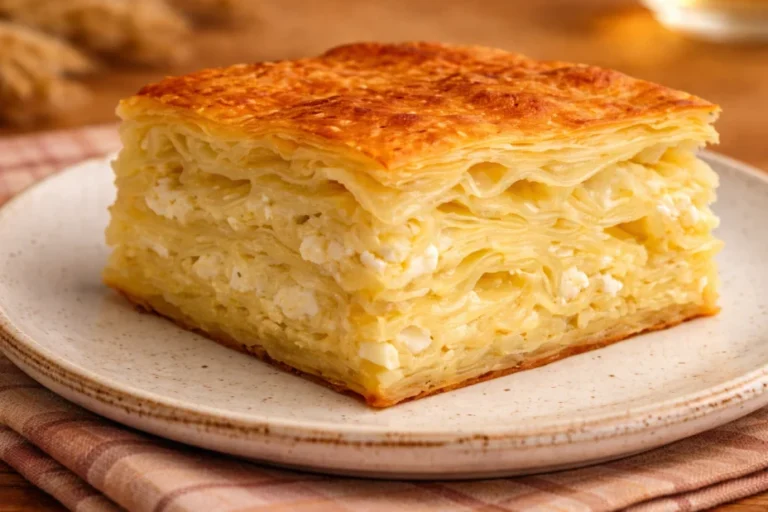
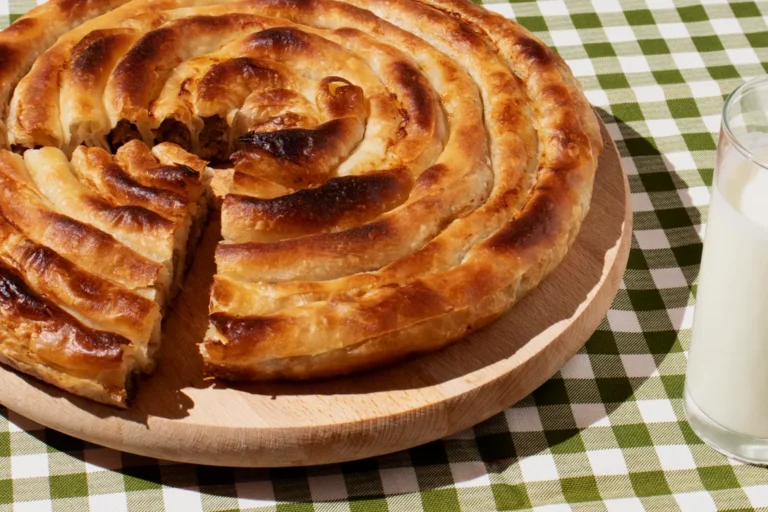
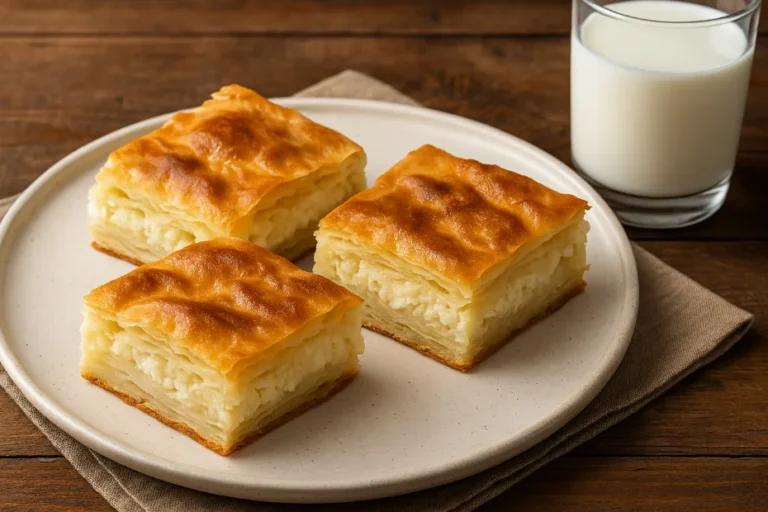
Our Bosnian burek has its own stretched-dough and rolled-pastry method. Sirnica is a cheese-filled pita. Neither is simply another name for these individual beef parcels. Klepe, by comparison, are soft dumplings cooked in water; they do not use this stacked pastry or oven finish.
Flour, beef, and the separate butter-oil mixture
Unbleached American all-purpose flour is a practical starting point for the original German Type 405 flour. Weigh it when possible. The dough has about 56% hydration, giving a manageable, elastic dough rather than the wet texture of a flatbread dough. Let it finish kneading and resting before assuming that resistance means it needs extra water.
The dough oil and layering oil have different jobs and remain separate ingredient lines. Butter stays in the layering mixture; replacing it entirely with oil would change this recipe. A little of that measured mixture also coats the resting balls and pans, while the remainder separates the rounds and brushes the finished parcels.
Use fresh ground beef. This American version specifies 80/20 ground chuck for a reproducible shopping choice and nutrition model; the original simply specifies beef. Very finely diced onion distributes more evenly than large pieces and makes the tiny parcels easier to close. The filling goes into the dough raw and stays refrigerated until needed.
Rest, stack, and roll without tearing
The first covered rest relaxes the kneaded dough. It is not a rise: this dough contains no yeast. Keep each ball covered so a dry skin does not form. Roll the balls into small rounds, then make stacks of three, brushing a thin butter-oil film over the lower two rounds.
After the second, shorter rest, roll one stack at a time to a thin rectangle while keeping the others covered. Use just enough dusting flour to prevent sticking. If the dough keeps shrinking back, cover it and give it a short additional rest instead of forcing it until it tears. Brush away excess flour from the sealing borders.
How much filling fits each tiny square?
A rectangle measuring approximately 40 × 50 cm contains eight by ten 5-cm squares before trimming. With two rectangles, the theoretical maximum is about 160. Allowing modest edge losses gives a working estimate of roughly 144–160 small pastries, rather than a kitchen-measured guarantee.
The filling weighs about 740 g in the base recipe. That is approximately 4.6 g per piece at 160 pieces, or 5.1 g at 144. A heaped teaspoon is too vague and can be much larger. Count usable squares, divide the filling proportionally, and test-close a few parcels before filling the whole sheet. Keep clean borders and pinch the side openings fully closed.
If your count is substantially different, check rolling dimensions and square size. Do not force an oversized mound into a small square to use up filling. The recipe notes explain the corresponding dough balls, stacks, and approximate piece counts at double and triple scale; individual pastry size stays similar.
Choose enough pan space and check the center
Allow two 12 × 14-inch metal pans for the base batch, dividing the parcels between them. The actual closed pieces may be wider than their theoretical folded footprint, so do not squeeze the full maximum yield into a single pan. Additional pans are preferable to torn seams and compressed centers.
The stated baking allowance assumes two pans fit in the oven with room for circulation. Swap their rack positions and rotate during baking, then inspect both. A smaller oven needs separate rounds, adding elapsed time. Golden tops are only one cue: the dough must be cooked and the beef in representative center pastries must reach at least 160°F (71°C). Use a thin thermometer probe and continue baking when needed.
Garlic yogurt, serving, and safe storage
Make the yogurt sauce before raw-meat preparation and keep it cold. Plain whole-milk yogurt gives the intended cultured tang without an extra sour-cream sauce. The defined amount of garlic is the stronger end of the original range; a milder amount is an identified adjustment. Spoon sauce over just before eating or serve it separately, so the entire tray does not become soggy in advance.
For a fresh side, kupus salata adds crunch beside the rich pastry. The six main portions include both pastries and yogurt in the nutrition estimate; the salad is separate. Rest the pastries briefly after baking, loosely covered with a clean towel for softer tops or uncovered for more crispness.
Keep filling and shaped raw pastries refrigerated when not actively working. Cook them within the original ground-beef storage window of one to two days; shaping does not restart that clock. With large batches, work from small chilled portions rather than leaving all the meat at room temperature. Keep raw-meat tools away from the sauce and finished food.
Refrigerate cooked pastries in shallow containers within two hours, or within one hour above 90°F (32°C). Keep at 40°F (4°C) or below and use within two days. Store sauce separately, following any shorter package limit. Reheat pastries throughout to 165°F (74°C); covering initially helps limit drying. Freeze promptly chilled baked pastries without yogurt for longer keeping, then thaw in the refrigerator.
Why do the parcels open or the layers feel heavy?
Open seams usually call for less filling, cleaner borders, or a firmer pinch along the side openings. Dry dough edges also resist sealing, so keep unused sheets covered. Heavy layers can result from rolling too thickly or compressing the parcels in the pan. Respect the covered rests, roll evenly, and leave enough room for the dough to bake through.
These are practical planning and troubleshooting guidelines, not a claim of independent kitchen testing. The piece count and shaping time remain estimates; the measured formula, safe filling temperature, and actual doneness checks govern the recipe.